How to Turn On Your Sprinkler System This Spring: A DIY Guide
When spring comes, that means it’s time to get your yard back in shape, starting with your sprinkler system. After months of freezing temperatures and shut-down time, your irrigation system needs a careful restart to avoid costly damage and ensure it runs efficiently all season long.
If you’re a hands-on homeowner, it’s possible to tackle your sprinkler start-up on your own, as long as you take it step by step. Below, we’ll walk you through the DIY approach to getting your system up and running this spring. But remember: if something doesn’t look or sound right, calling a professional is the best way to protect your system and avoid surprises.
Why Proper Start-Up Matters
You might be tempted to just flip on the water and let the system go, but that’s a quick way to cause serious damage. Here’s why a careful, controlled start-up is essential:
-
Prevents Water Hammer: Opening valves too quickly can cause a sudden surge in pressure, which may damage pipes, heads, and valves.
-
Reveals Winter Damage Early: A slow, methodical check allows you to catch cracks or leaks left behind by freezing temps.
-
Ensures Efficient Watering: Getting all heads aligned, zones balanced, and the controller set up properly helps you avoid dry spots and overwatering.
When Should You Start Up Your Sprinkler System?
Timing is everything when it comes to sprinkler start-up. In the Midwest, it’s best to wait until the threat of overnight freezing has passed, typically mid to late April, depending on the weather.
Starting too early can put your system at risk of freeze damage, especially in exposed pipes or backflow preventers. A good rule of thumb? Wait until temperatures consistently stay above 40°F at night and your lawn begins to show signs of new growth.
If you’re unsure, give us a call. We’ll help you choose the safest and most efficient time to turn your system back on.
Tools You’ll Need
Before you get started, gather a few basic tools to make the process smoother:
-
Flathead screwdriver
-
Sprinkler valve key or shut-off tool
-
Controller manual (or app, for smart controllers)
-
Towel or small bucket (in case of residual water in valves)
-
Optional: Pressure gauge and smartphone for scheduling
Step-by-Step DIY Sprinkler Start-Up
Step 1: Inspect the System
Take a quick walk around your yard and visually inspect all visible parts of your sprinkler system:
-
Look for cracked or sunken sprinkler heads
-
Check for broken or missing nozzles
-
Clear away dirt, mulch, or debris that may block spray patterns
-
Inspect valve boxes for signs of water or pests
It’s better to catch these issues now before you pressurize the system.
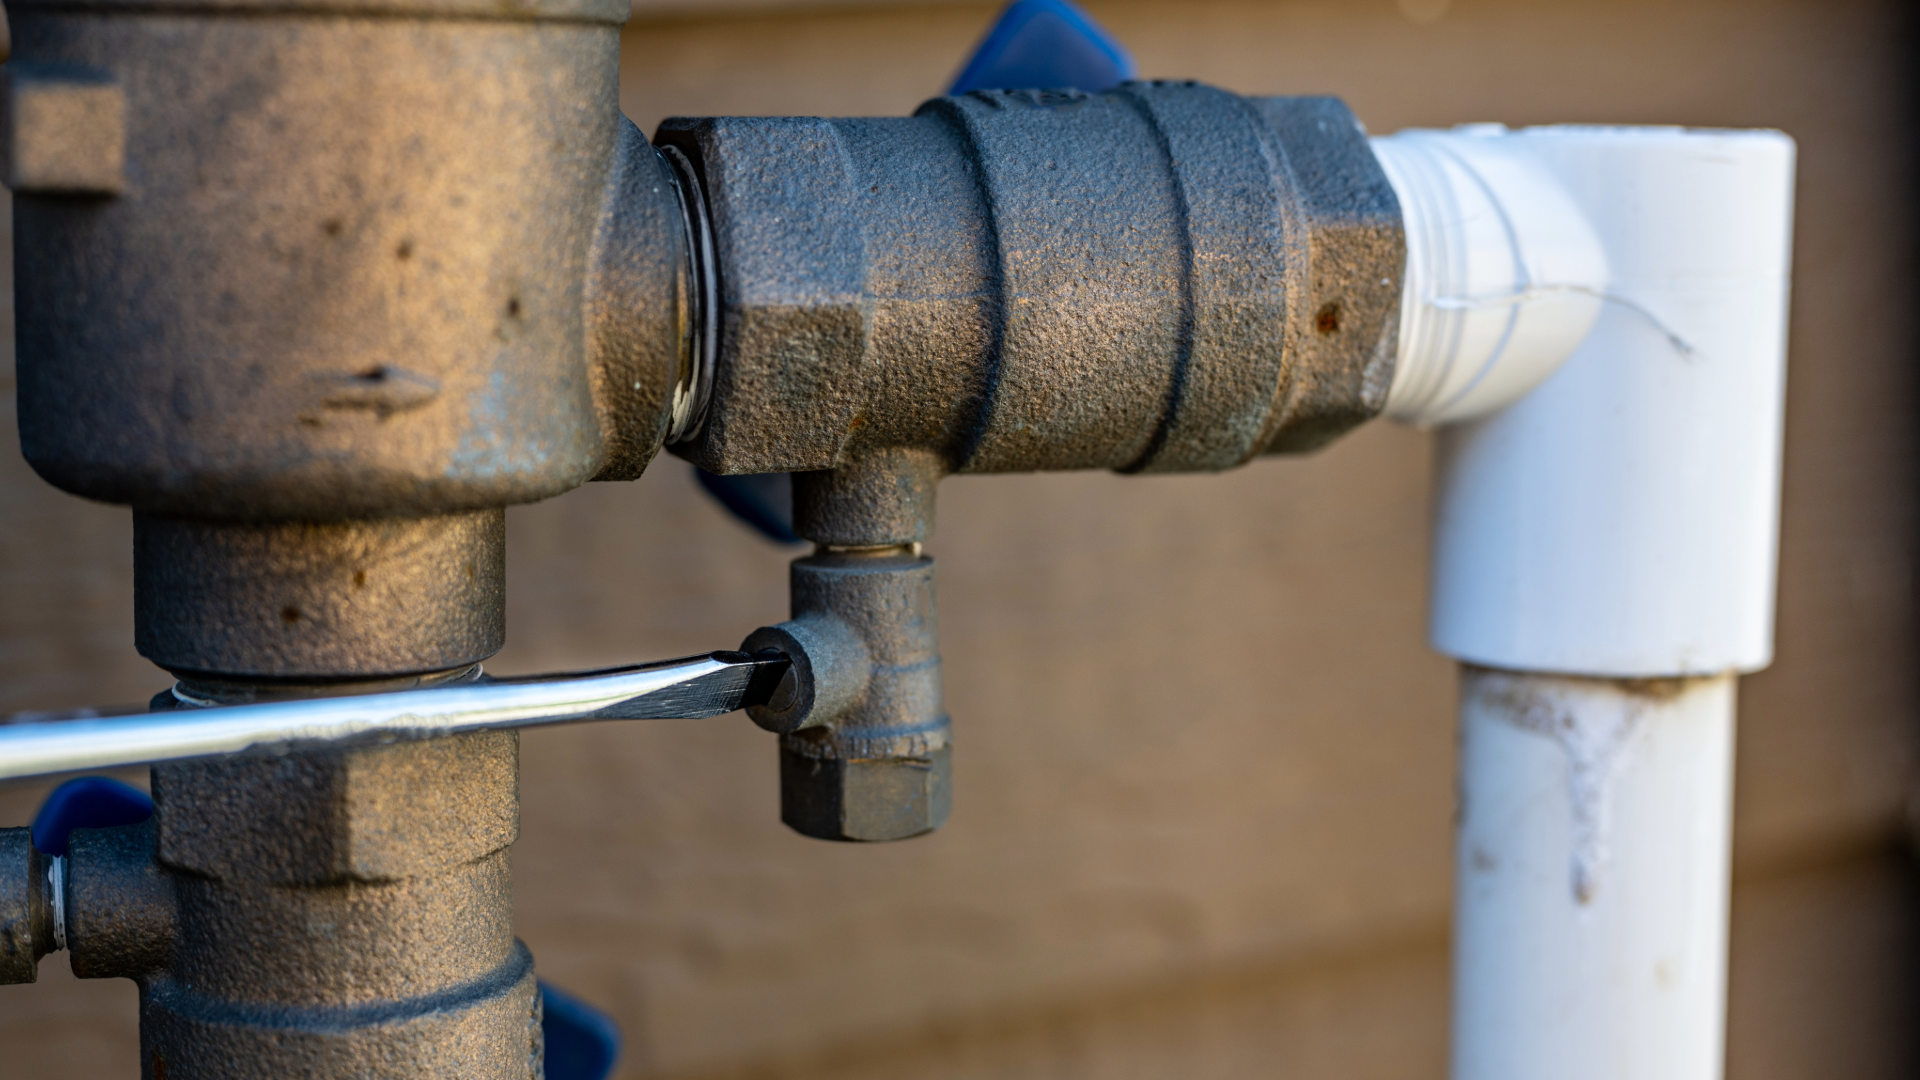
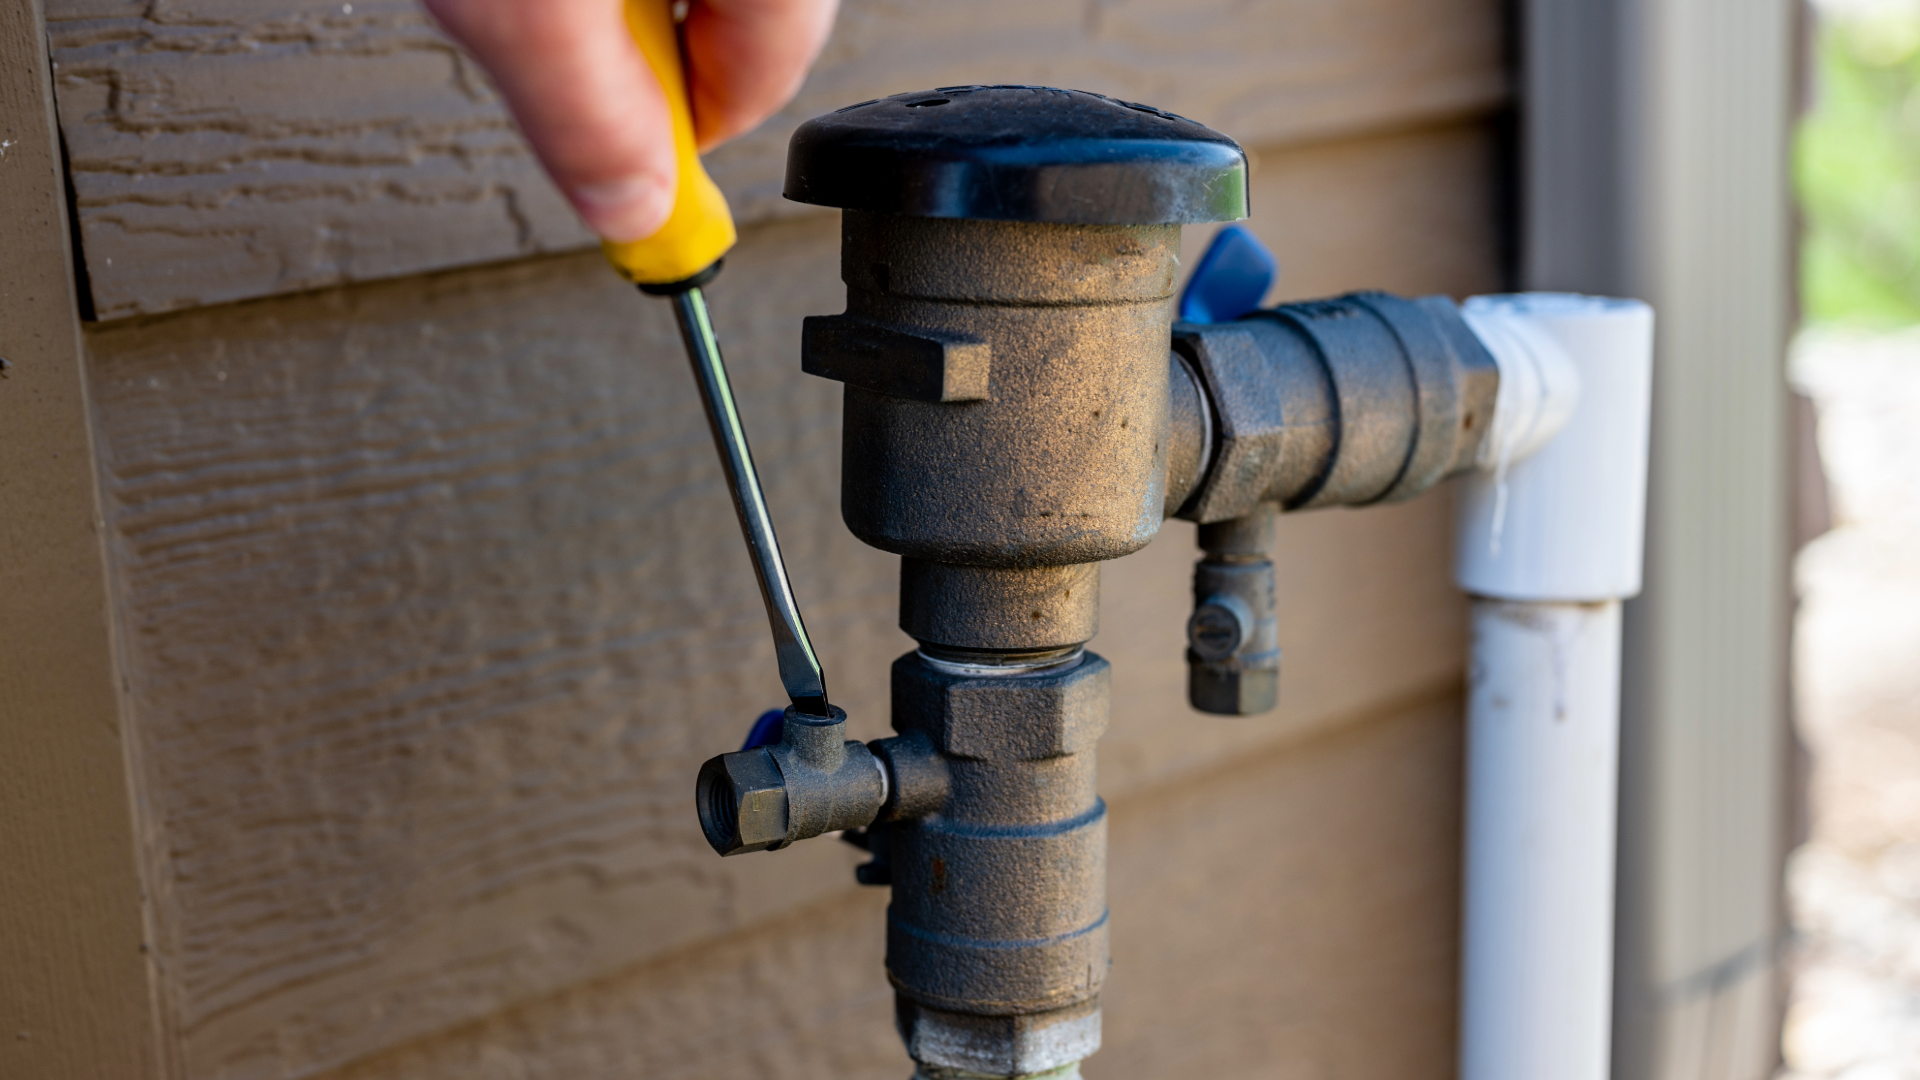
Step 2: Open the Main Water Valve Slowly
This is a critical step and one that should never be rushed.
Locate your sprinkler system’s main shut-off valve (usually in the basement, crawl space, or outside near the backflow preventer). Open the valve very slowly to allow the pipes to gradually fill with water. Opening it too fast can send a surge of pressure through the lines, causing cracks or blowouts.
Tip: As the water fills the system, listen carefully for unusual sounds like hissing, knocking, or water spraying. These can be signs of leaks or air pockets.
Step 3: Reconnect and Check the Backflow Preventer
If your backflow preventer was disconnected or drained for winter (which it should have been!), now’s the time to reassemble and inspect it.
-
Ensure all test cocks are closed
-
Open isolation valves one at a time
-
Check for signs of cracks, leaks, or unusual drips
A damaged backflow device can compromise your home’s drinking water, so if anything seems off, stop here and call a licensed professional.
Step 4: Turn On the Controller
With water flowing and your system inspected, it’s time to bring your controller back to life.
-
Restore power if it was unplugged or turned off over winter.
-
Update the date and time, especially after power outages.
-
Review your watering schedule. You may want to adjust days and durations based on early spring conditions.
-
Test each zone manually using the controller to make sure everything is functioning correctly.
If you’re using a smart controller, this is a great time to reconnect to your Wi-Fi, update any firmware, and set up seasonal adjustments or weather-based automation.
Step 5: Run and Test Each Zone
Now that everything’s powered up, test each zone one at a time. Run each for a few minutes while walking the yard and watching for:
-
Heads not popping up or not fully extending
-
Leaking sprinkler heads or water pooling around them
-
Misdirected sprays or blocked nozzles
-
Uneven pressure or weak spray patterns
If a head is stuck or spraying off-target, try gently adjusting or cleaning it. Minor clogs can sometimes be cleared with a quick rinse. If it’s cracked or broken, it’s best to replace the head before it gets worse.
Common Issues to Watch For
As you go through the start-up process, keep an eye out for warning signs like:
-
Low pressure in one or more zones (may indicate a leak or broken head)
-
Water bubbling up from the ground (possible pipe break)
-
Valves that won’t open or close properly
-
Controller not responding or failing to run programs
These are all signs that you may need professional service to avoid further damage or inefficient watering.
When to Call a Pro
While DIY start-up works for many homeowners, there are times when it’s better to call in the experts, especially if:
-
You notice visible damage to pipes, valves, or heads
-
You suspect your backflow preventer may have frozen or cracked
-
Your system won’t start at all, or certain zones are non-responsive
-
You want to ensure everything is properly calibrated for the season
At American National Sprinkler and Lighting, we offer full spring start-up services that include inspection, testing, and adjustments so you can start the season with confidence.
Doing your own sprinkler system turn-on can be a rewarding task, especially if your system made it through the winter without damage. Just remember: taking it slow, checking each step, and knowing when to ask for help are key to a successful start-up.
If you’re unsure about anything or just want the peace of mind of a professional inspection, we’re here to help. Schedule your spring start-up with American National Sprinkler and Lighting today and let’s keep your lawn looking its best all season long.